Who doesn’t love getting mail around the holidays? My son especially enjoys opening the colorful envelopes to discover exciting life updates and photos of our friends and family from around the country….but I have to admit, I try to get to them all – it is the small pleasures.
Unfortunately, the holiday season also brings the daunting task of finding a place to display the piles of the greeting cards and photos. (Have your ordered yours? Tiny Prints is offering 40% off plus free shipping through Sunday!) The refrigerator is a go-to location, as well as our bulletin board command center in the hallway. But this year I wanted to do something different and use these cards in a unique way by incorporating them into our home decor.
A quick browse of Pinterest will give you plenty of ideas — you can display cards on shelves, use Washi craft tape, creatively arrange them in a wreath, or even bind them into a book. I love all of these projects, but I decided to go rustic this year with a beautifully weathered display board. Follow these steps to create your own budget-friendly, large-scale wall display using reclaimed wood and twine.
DIY Rustic Wood Greeting Card Display Board

Materials:
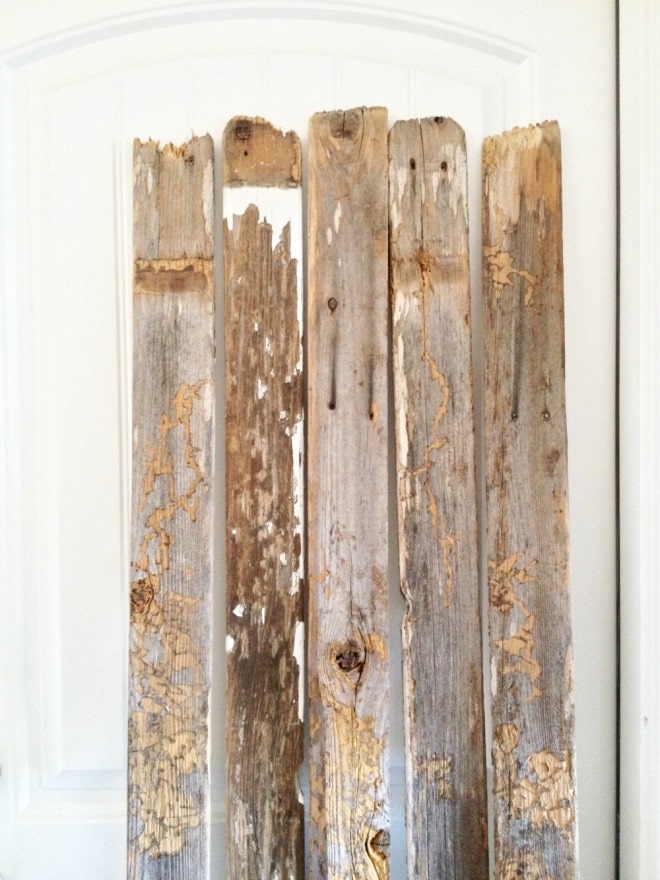
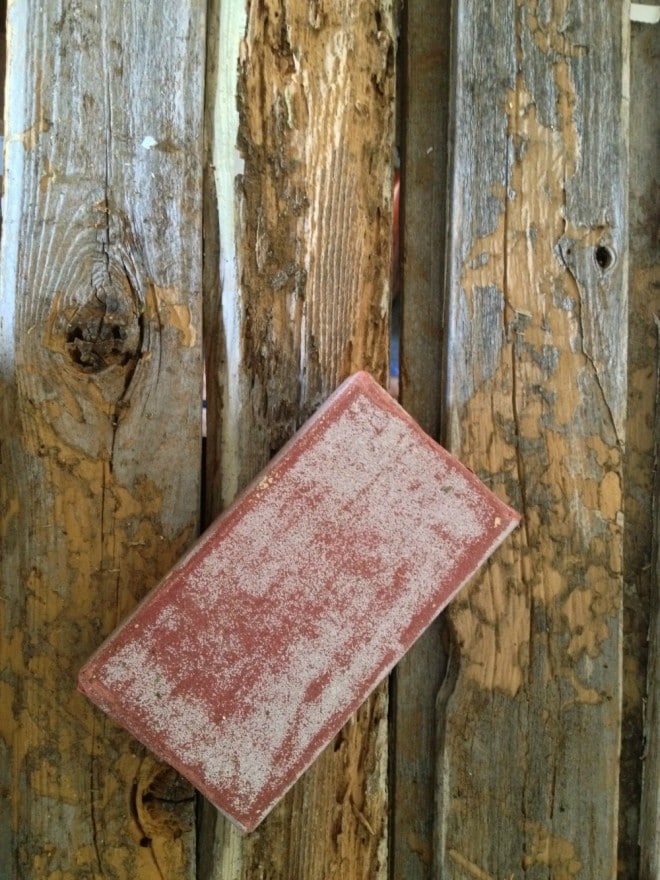
- 6-8 thin wooden planks (I found some old weathered fencing for free on Craigslist and it was perfect!)
- Sandpaper (optional, depending on how rough you’d like the wood to look)
- Clear wood sealer or wood stain (again, depends on the look you want for your wood)
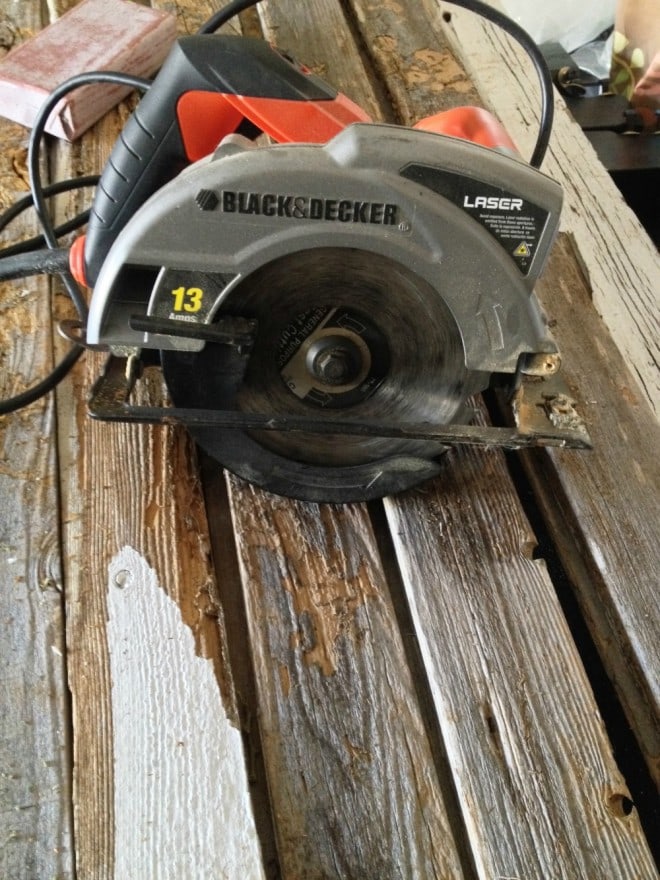
- Circular saw
- Hammer
- Nails (1/2 inch)
- Photo framing wire
- 2 eye hooks
- Twine
- Push pins
- Felt pads
Instructions:
- Choose how wide you’d like your display to be. I used six pieces of wood measuring approximately 22 inches, but you could go smaller or larger.
- Sand down the rough parts of the wood with sandpaper so that your cards and photos will be displayed on a smooth surface.
- Arrange the wood side-by-side. I chose to keep the top edge of the display raw and then used a saw to cut down the bottom of the pieces so they were about the same height. This made the top of the display jagged and uneven and the bottom a nice straight line.
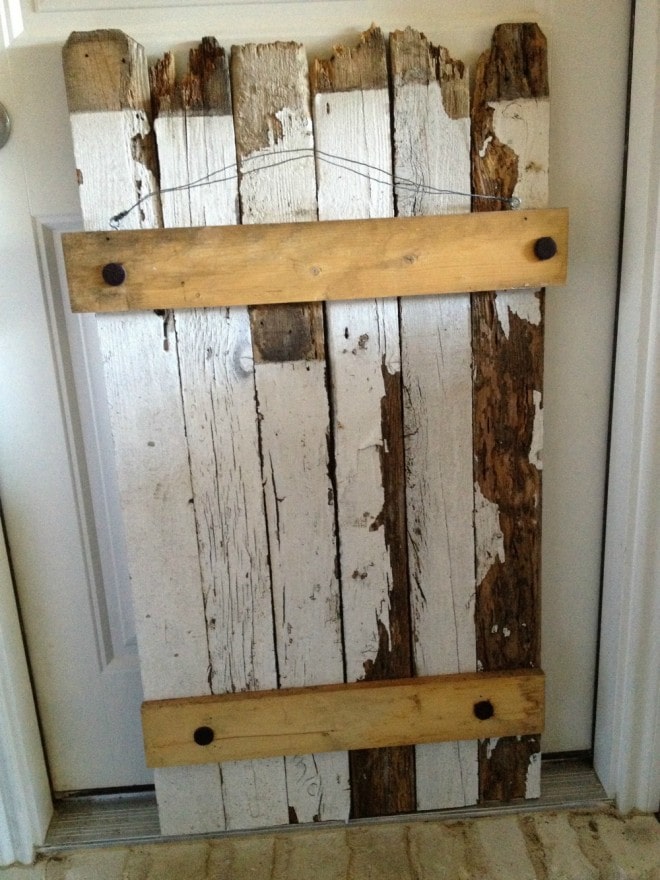
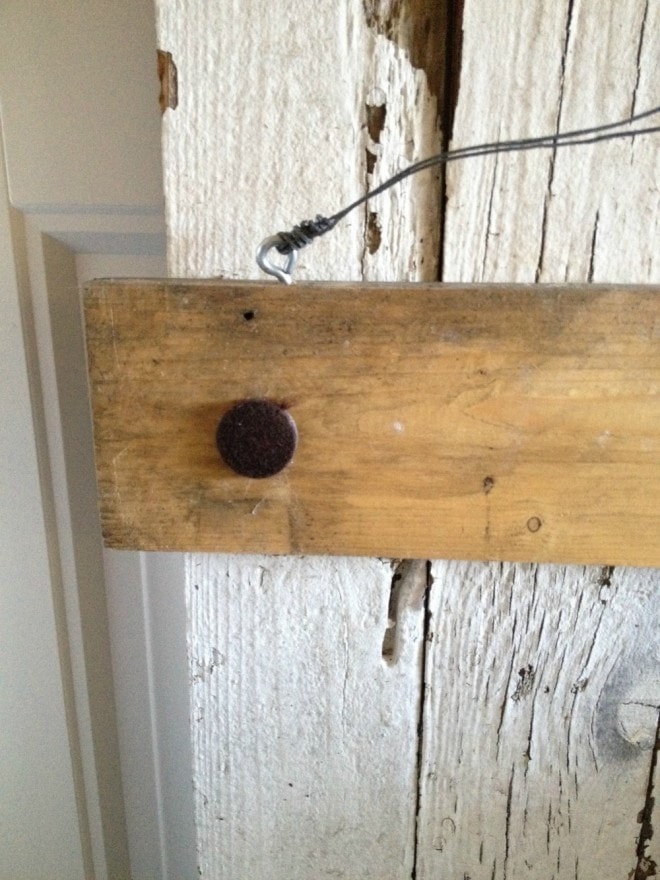
- Cut two more pieces of wood to act as braces across the back of the planks. Using a hammer and nails, secure the braces across approximately six inches from both the top and bottom. Use enough nails to attach the boards securely.
- Once the braces are in place, screw in two small eye hooks to the top piece of wood and string a piece of framing wire between the two. You could also use a picture frame hook instead of the wire.
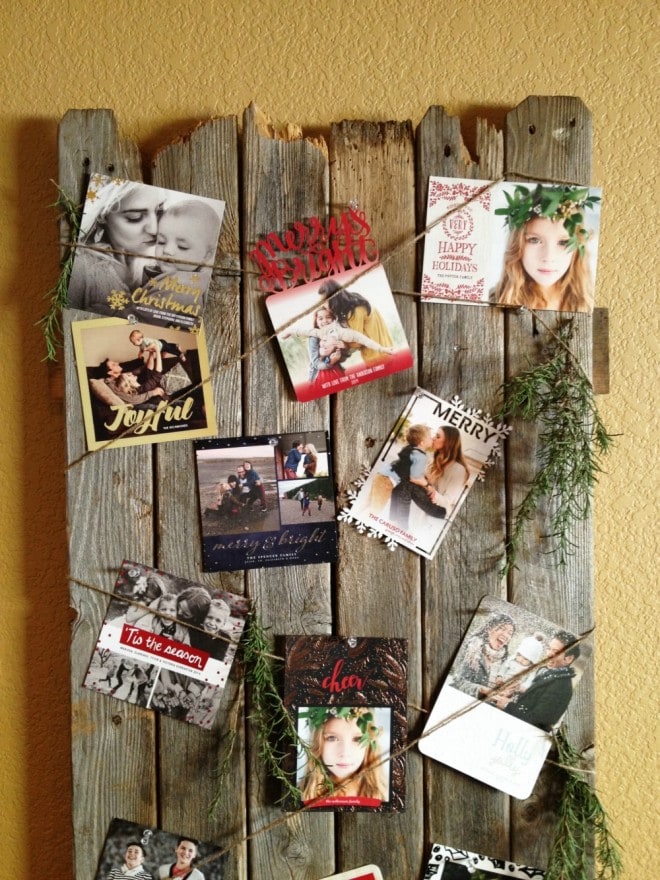
- Flip around the display and wrap some twine around the wood in a zigzag pattern. Don’t go overboard with the twine — you only need to go a few times around.
- Add your favorite greeting cards and a few pieces of fresh rosemary to give it some color and fragrance.
I can’t wait to have guests over to show off our new holiday card display to friends and family. We might even keep it up all year round to use for other fun cards, photos and letters!


Sounds so easy to do!!