I’ve been growing my hair out for more than fifteen years now. Yes, fifteen. The moment I left television news and wasn’t required to have that old-school ‘anchor bob’ that women were supposed to have in order to be taken seriously when I was doing news way-back-when? I started to let it grow, and grow.
My stylist…a magician if ever there was one, knows that my goal is to cut as little as possible each time I visit – even though I don’t have the chance to see her very often.
The truth is, I’m my own stylist most of the time (read: virtually every day)- and I like it that way. It gives me a chance to experiment, learn new tricks, twists and curls, make a few mistakes a long the way, but definitely perfect my favorites.
It is my favorite-favorite-FAVORITE (And one of the easiest and longest lasting styles I do) that I want to share with you today:
I’m excited to tell you Suave Professionals® invited me to partner with them to share the one that I love the most and, quite honestly DO the most….this style is one that I (and you) can do in three easy steps.
Loose Summer Curls…
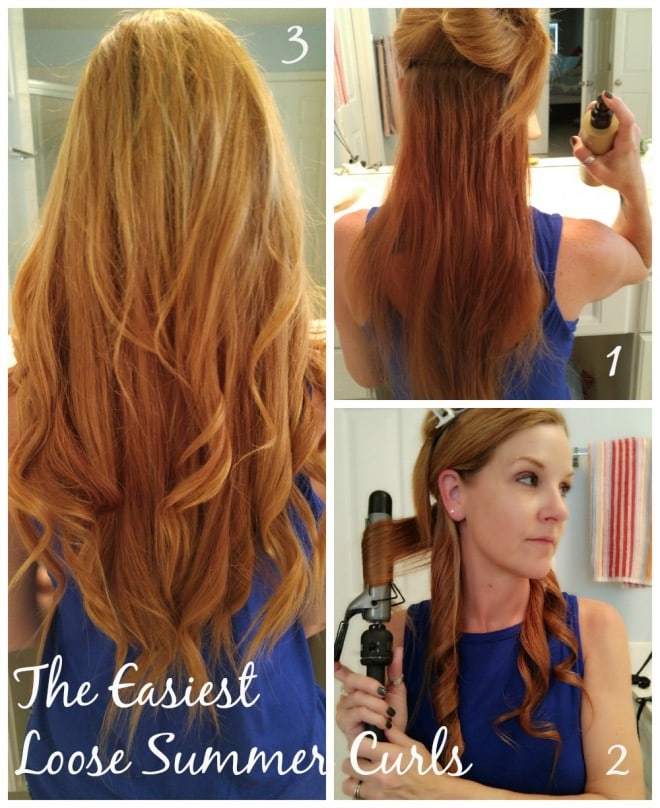
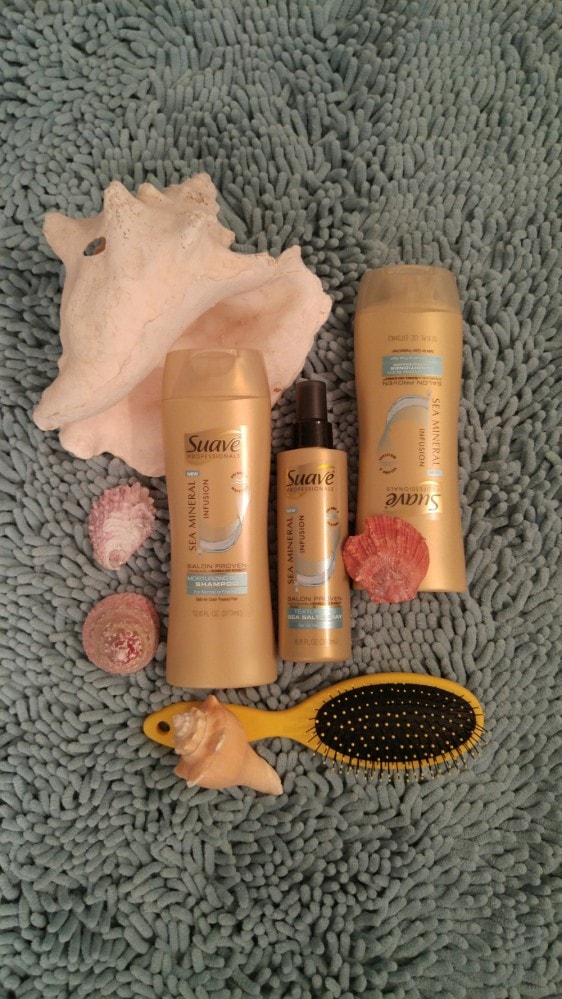
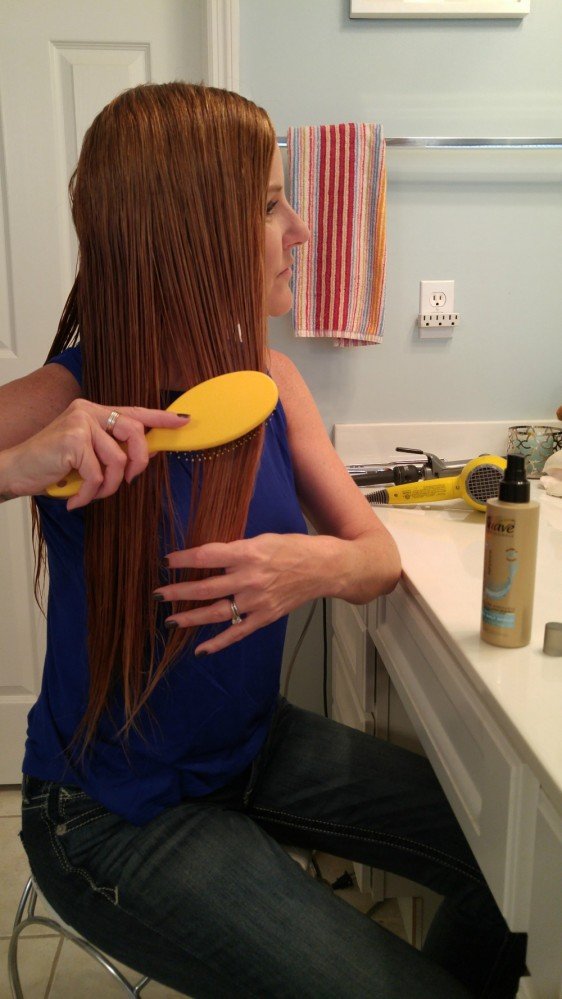
While my hair is still wet (and again as I separate and curl), I use the third product in the Sea Mineral Infusion line – the Texturizing Sea Salt Spray which helps to create natural texture in my hair and enhance the curls as I begin styling.
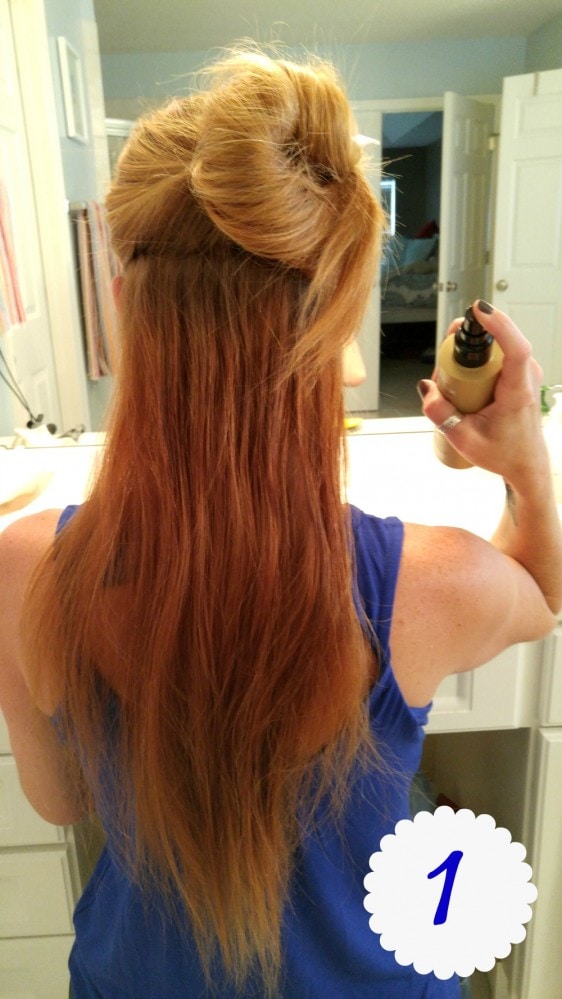
Step 1
Start at the back of your head, Separate your hair in to sections as you see here in the picture, re-spray your hair with Suave Professionals® Sea Mineral Texturizing Sea Salt Spray for the added texture, curls and hold (and sea-salt-infused smell – delicious!).
Step 2
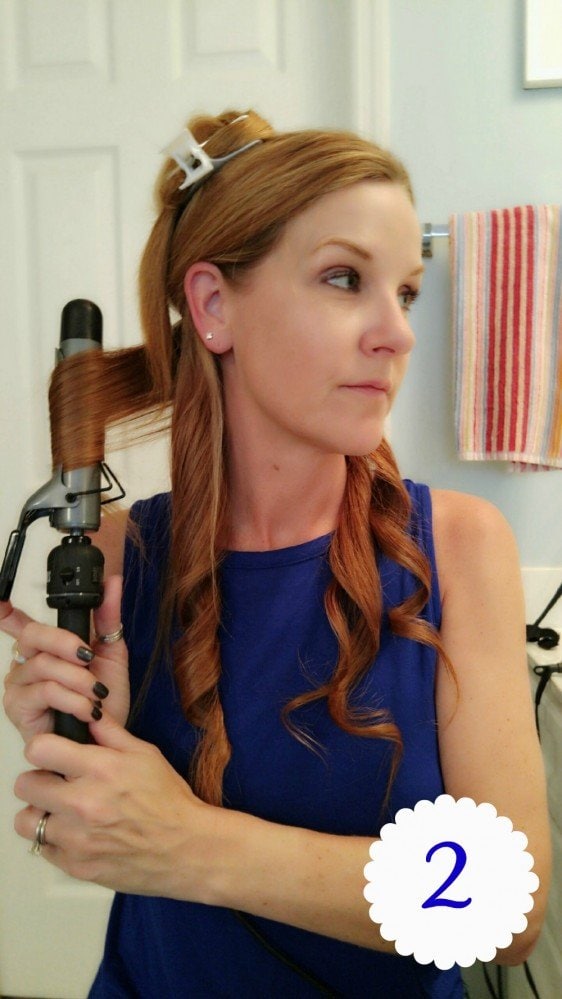
Here’s the key to the ‘loose’ part of the curl – what makes it look wavy as it falls….you aren’t curling like your mom used to do it for you when you were a little girl….don’t put the curling iron on your hair, drag it ALL THE WAY TO THE END and start to curl back towards your head. Nope.
Listen carefully.
Here’s what you do: Take a section of your hair (preferably a small to medium size section (look at the photo for reference), start in the MIDDLE of that section with the curling iron, loosen your grip ever so slightly a little at a time on your hair as you start to curl (imagine ‘pumping the grip you have on the handle softly to loosen the curling iron’s hold on your hair without fully releasing) and move the curling iron towards the end of your hair as you roll it, until you have an inch to an inch and a half still hanging free (see photo again), THEN start to curl the iron back towards your scalp until you have that strand rolled completely. You DO want to leave a section hanging loose – as this will help you to achieve the messy look when you are done. Work your way through each section, releasing from the clip as you go, until you have curled all of your hair. I promise you can do it. I do my entire head in 10-15 minutes.
Step 3
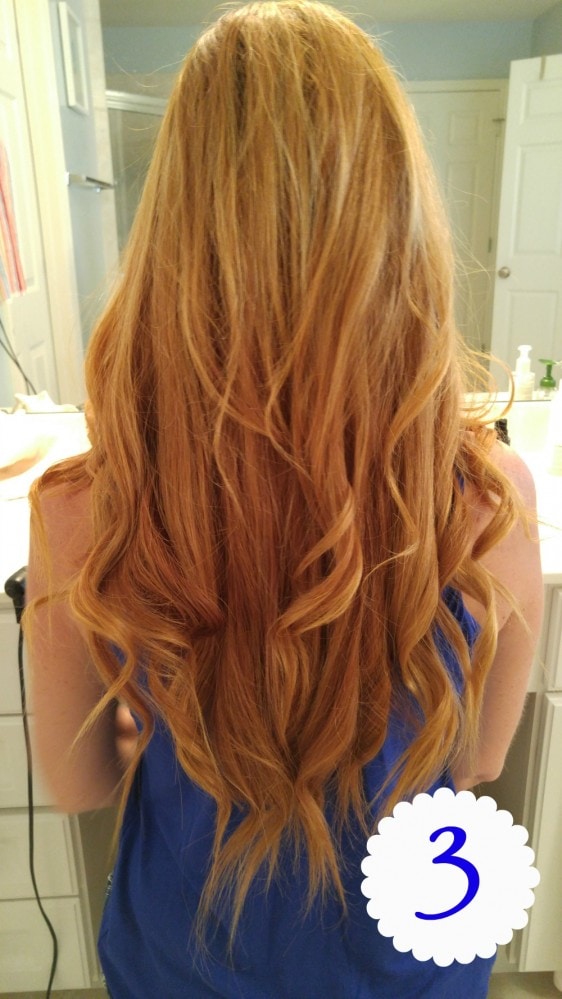
Allow your hair to fall as it may. In this photo below, I haven’t touched my hair since I completed each section of curls. I have two options, I can run my fingers through it to blend it all together, making it even more loose and wavy….or allow the curls to naturally fall as they may throughout the day, knowing that two days from now I will have more sea-inspired waves, but still a look I love. (Can you see how the ‘tails’ of my hair aren’t curled and add to the loose look of the style?)
As always, I’m always grateful you stopped by.
Discover the Beauty of the Sea with NEW Suave Professionals® Sea Mineral Infusion products.
This is a sponsored conversation written by me on behalf of Suave Professionals® . The opinions and text are all mine.

Leave a Reply