A treasured guest post from ExtraordinaryMommy.com friend, Kristin Hackler.
5 Raggedy Rose Craft Ideas from Old Country Curtains
During a recent trip to the thrift store, I came across a thick bundle of country curtains that the store was practically giving away. They were your typical dusty rose/large flower print/curlicue fabrics that one would usually associate with wooden roosters and hand-painted signs with quaint kitchen colloquialisms. And before I knew it, I had purchased the whole lot.
I didn’t know what I was going to do with them at first. The pile sat there on the kitchen table, tired, ruffled and sun spotted, the patterns playing havoc with my kitchen’s otherwise traditional décor. But as I lifted each piece and examined them, I could see how the colors could work beautifully if they were twisted, blended and subtly hidden by turning them into a whole bunch of raggedy roses.
Raggedy Rose How-To
I first learned how to make raggedy roses from my mom, though she taught me how to make them using palm fronds instead of fabric. The idea is pretty much the same, however, and they’re incredibly easy to make once you get the hang of it.
What you’ll need:
- Fabric
- Scissors
- Glue gun
Step 1: Cut your fabric
I started out cutting my fabric in two-to-three inch wide strips the length of the curtain — about 60 inches — and then cutting those lengths in half. After making a fair number of small roses from the 30-inch pieces, I switched over to making roses from the full 60-inch strip.
Step 2: Tie and twist
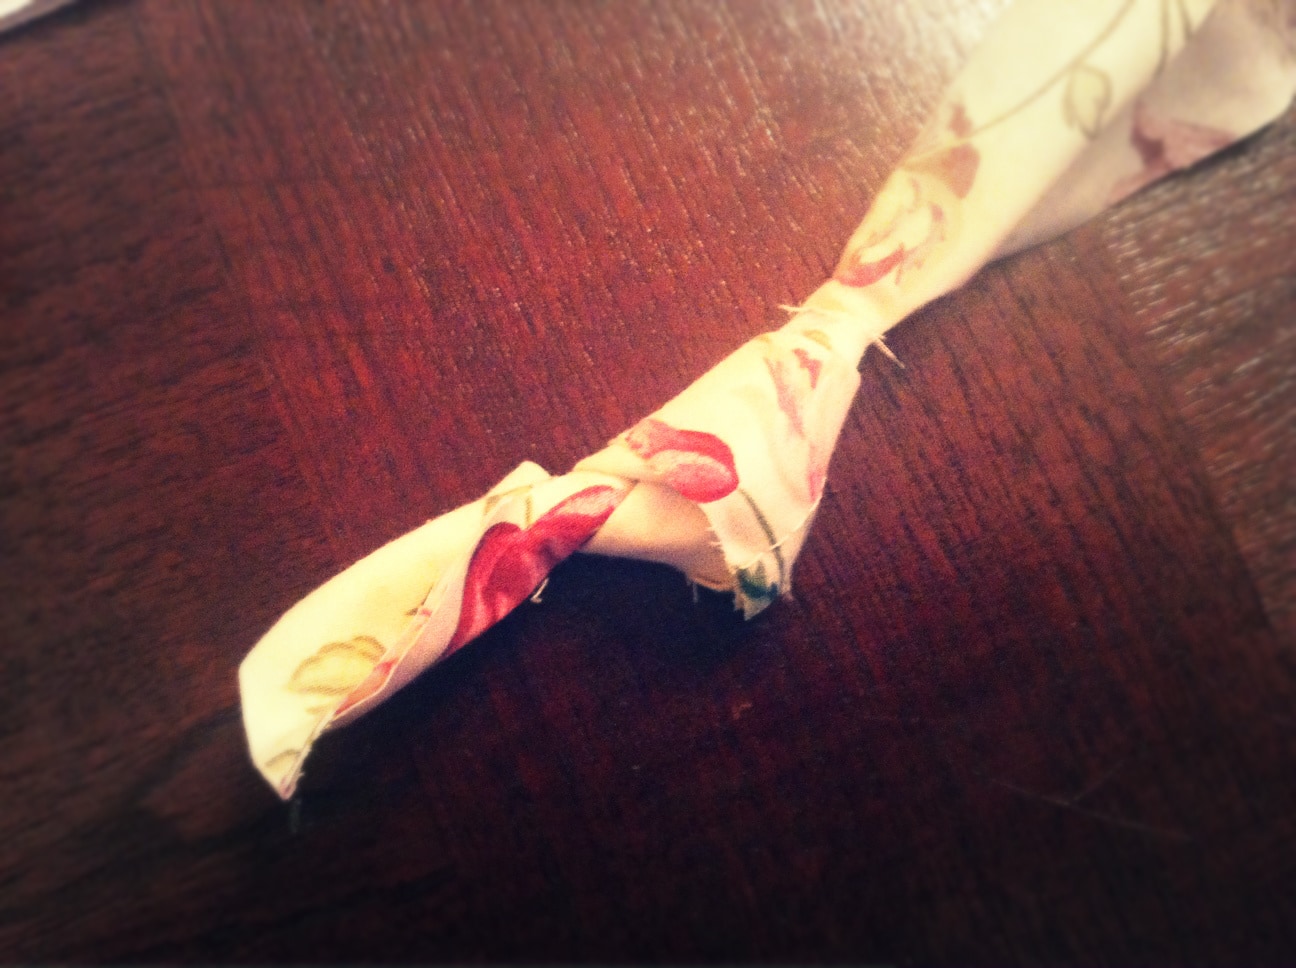
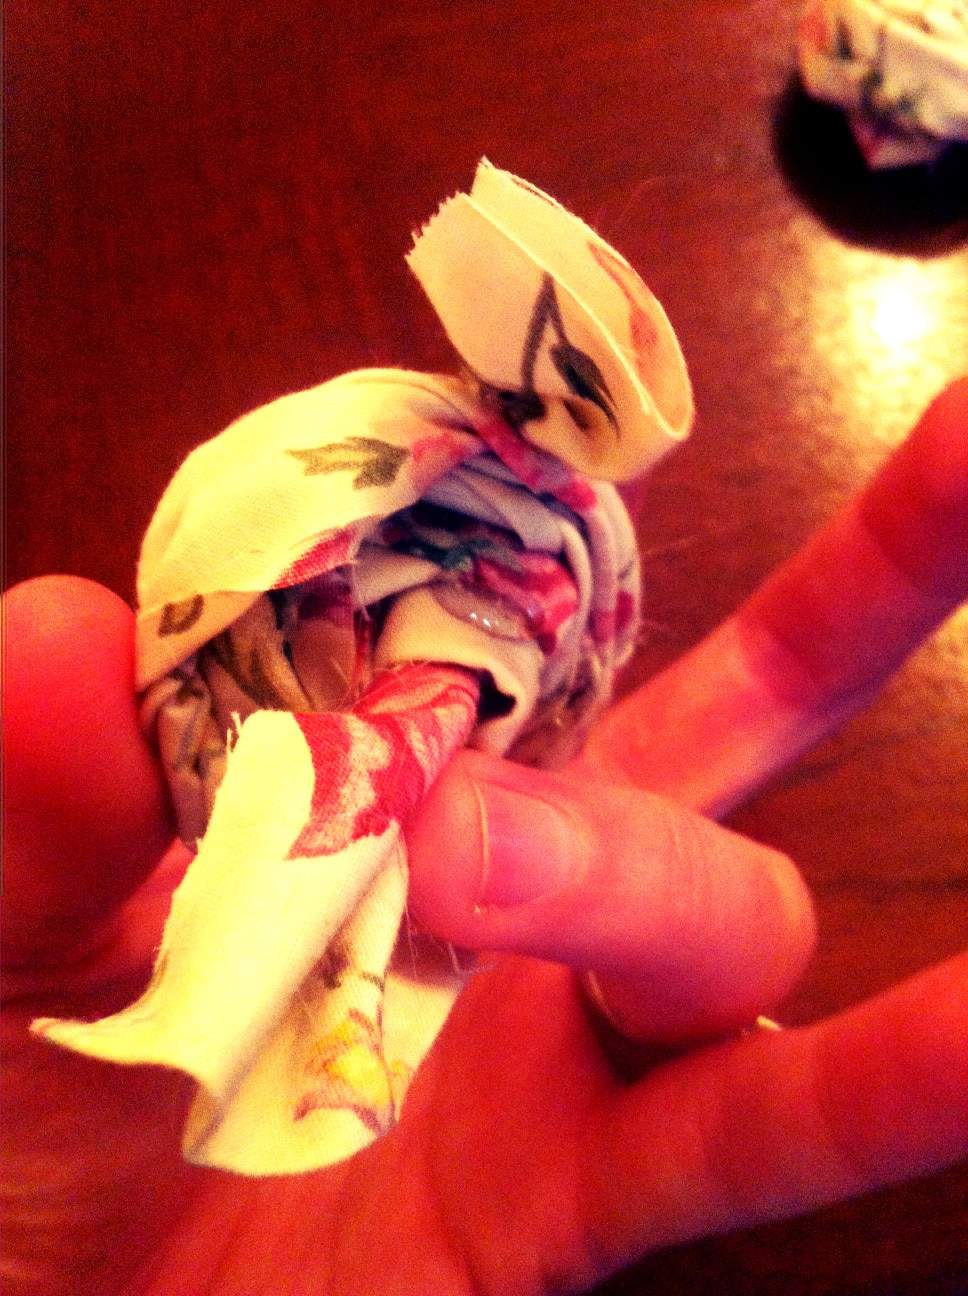
To start your rose, tie a knot in one end of the fabric strip. Then wrap your fabric strip around once, using the glue gun to secure the first wrap in place against the knot. To keep the colors bright and to avoid too many raggedy ends, I folded the fabric strip in half first, colorful side up, and made sure the fold was facing up while I was wrapping.
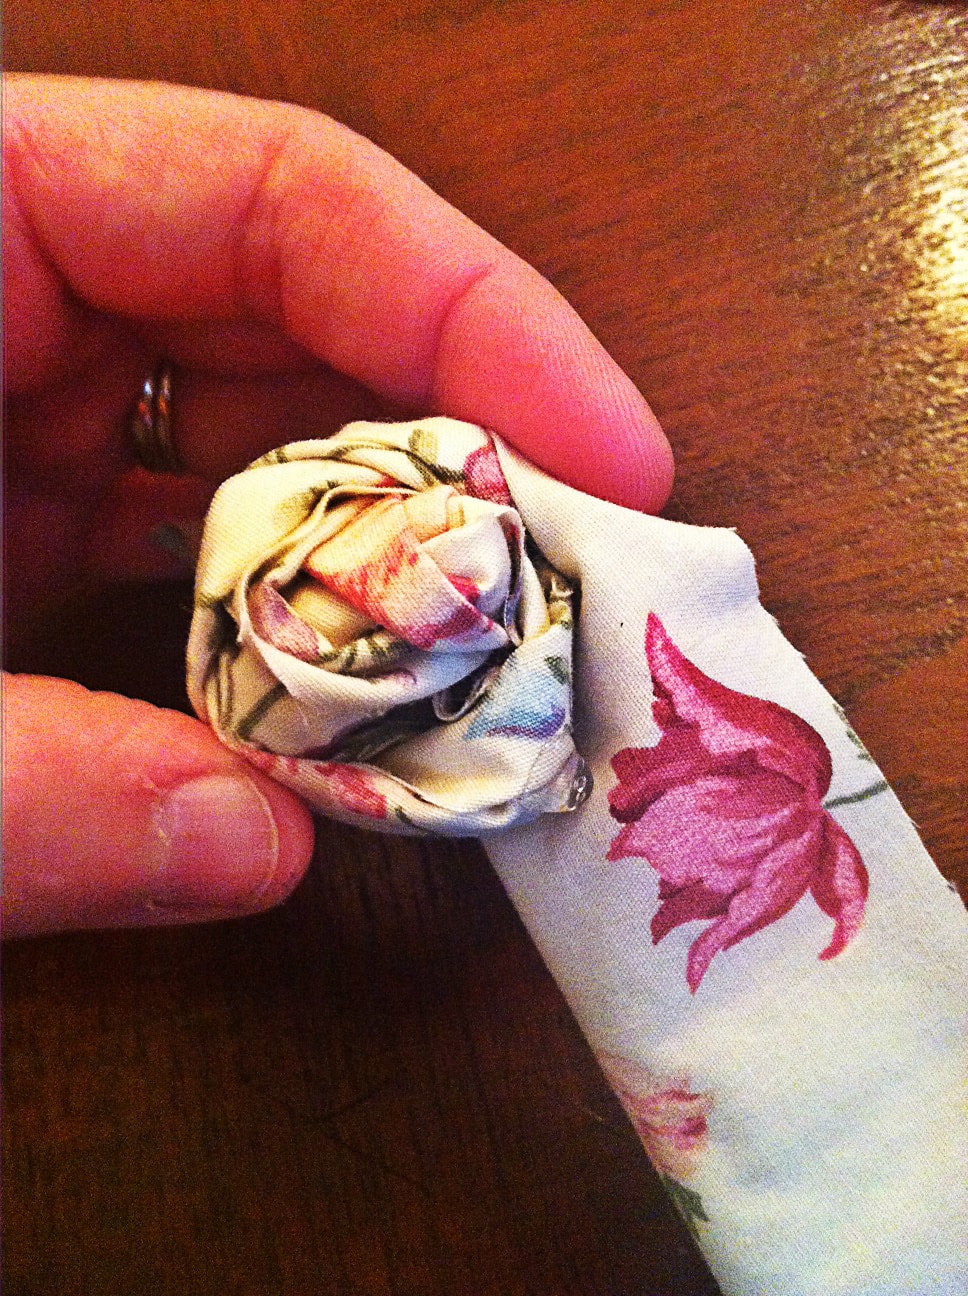
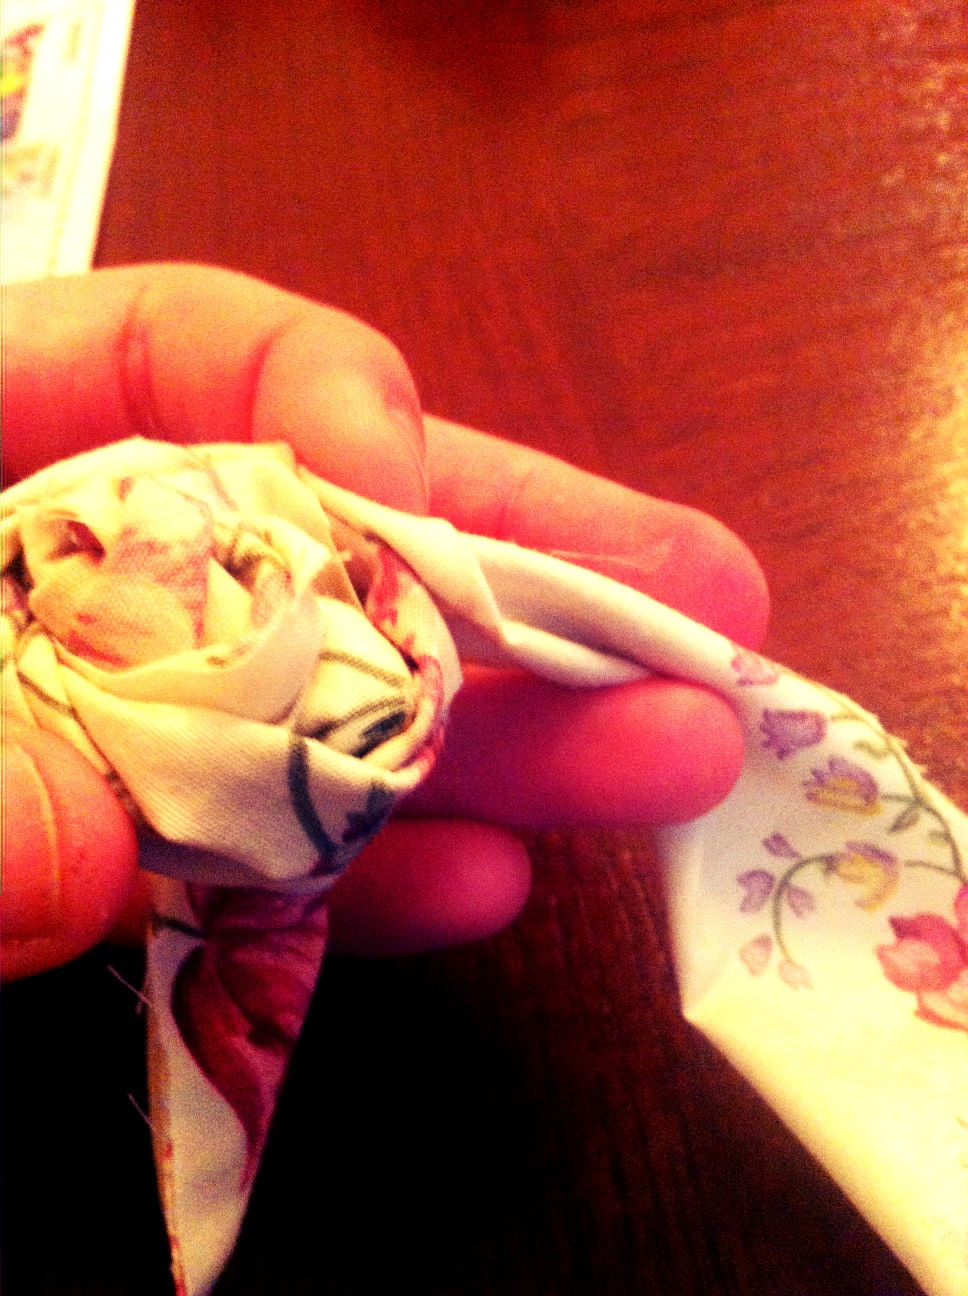
On the next go-round, twist the fabric once a full 360 degrees, continue to wrap, and then twist again, securing the fabric in place with glue every few twists. I put in a twist every inch or so, closer together at first and then wider as the rose got bigger. This twisting is what gives the rose its petal-ed appearance and gives it a tighter, cleaner look when done.
Step 3: Secure the end
Once you’ve reached the last couple inches of fabric, fold the end at about 90 degrees and glue the last bit of fabric to the bottom of the rose. And that’s it! One rose done and ready for crafting.
Raggedy Rose Craft Ideas
1: Raggedy-chic Hairclip
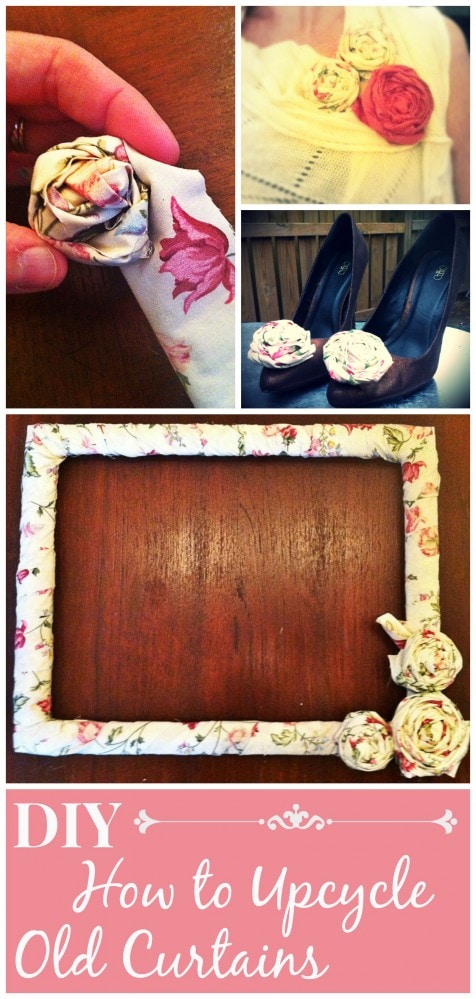
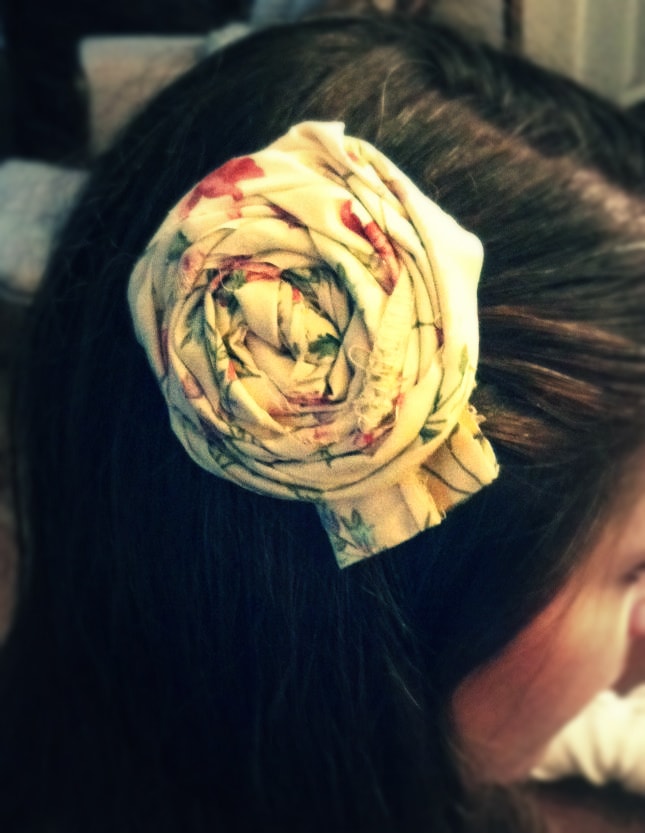
I love showy hairclips and these roses make excellent ones. To turn your rose into a hairclip, cut a small piece of felt that can easily hide under your rose and cut two slits in it, top and bottom. Then run a plain, flat hairclip through the felt, going in the top slit and coming out the bottom. Glue the back of the felt and clip to the rose.
2: Rose Brooch
How do you keep light spring scarves from fluttering away? With a cute brooch, of course! Follow the same method as the hairclip process above, but feel free to embellish first by adding more roses and gluing them together, using the fabric as the base. And instead of using a hairclip, try a safety pin instead.
3: Shoe Roses
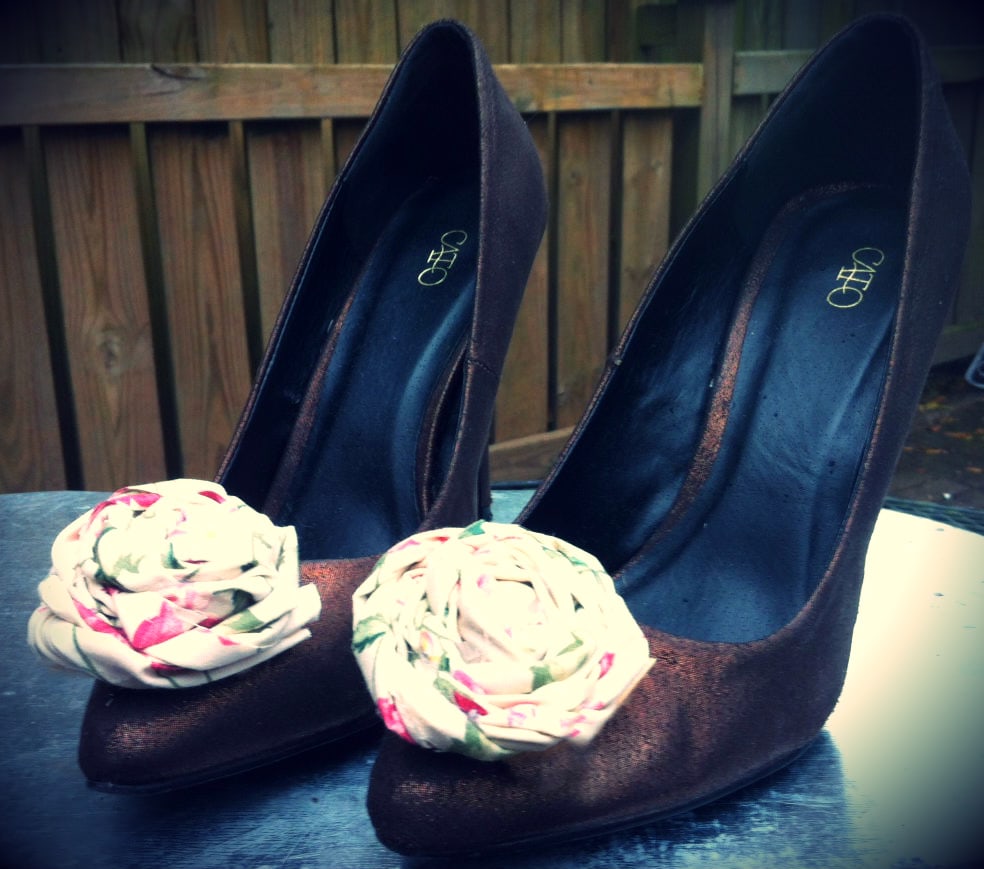
Old pairs of flats or heels can be given a whole new look with just a touch of decoration. These roses were added to the toes of a pair of heels that I loved, but were damaged in a bleach accident. The rose covered up the unsightly spots beautifully and all they needed was a spot of glue to hold them in place.
NOTE: If you’re going to be wearing your rose shoes out a lot, I recommend using a super-strong glue, especially one that can get wet and is washable. For my roses, I used E6000 craft glue.
4: Raggedy Rose Picture Frame
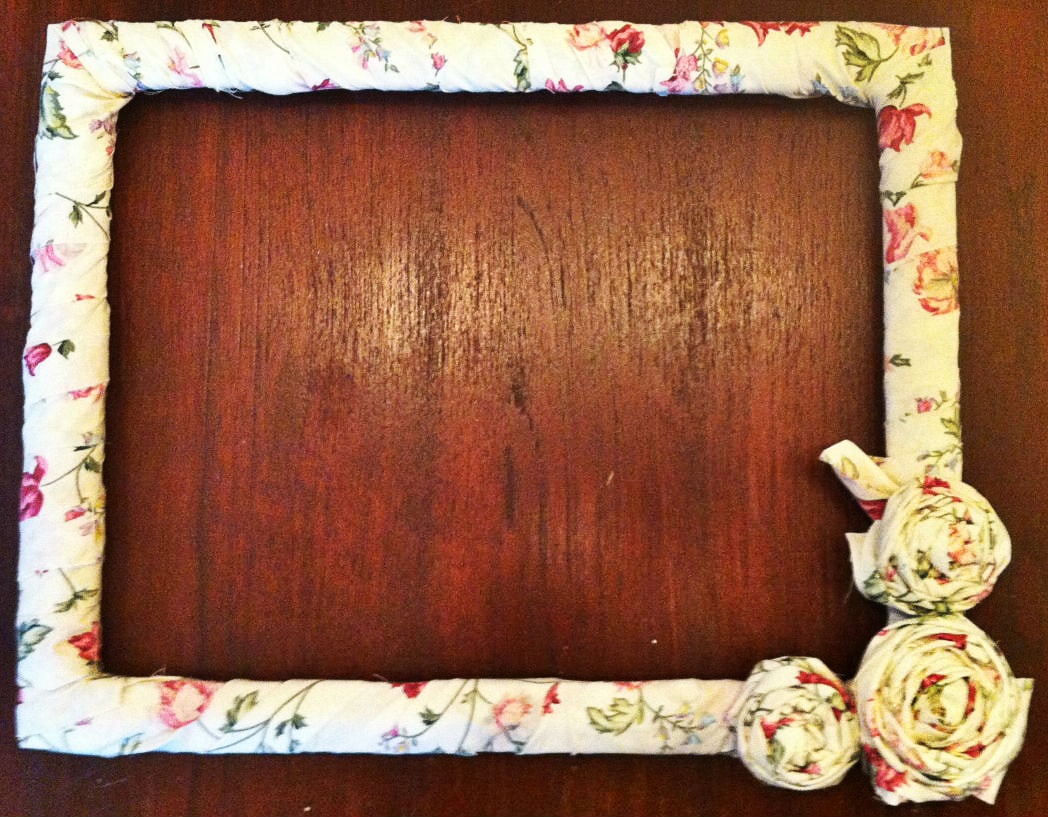
Ugly old picture frames can become great baby shower gifts or everyday décor with a couple roses and some leftover fabric strips. To make this picture frame, all I did was wrap an old wooden frame with some of the unfolded rose fabric, securing it in place with strong glue. Then I attached three roses to one of the edges using the hot glue gun.
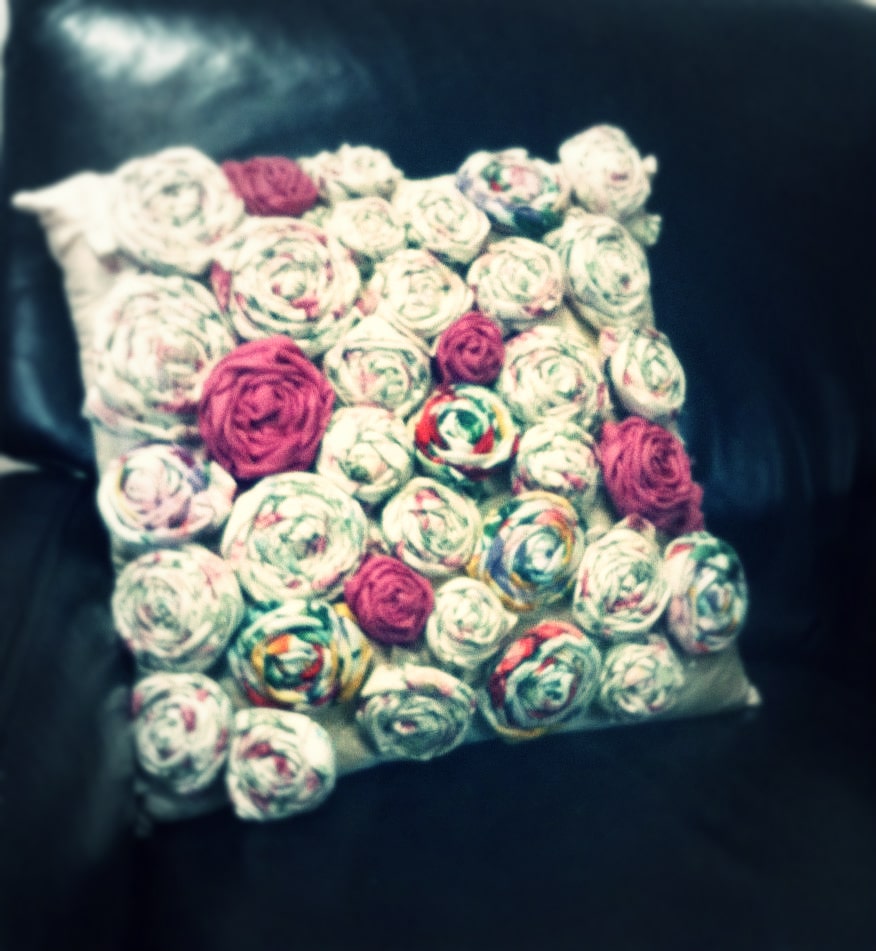
5: Rose Pillow Re-Do
While I loved the color of this old throw pillow, the fabric had seen better days and was starting to wear thin in several places. So I took several raggedy roses and attached them with fabric glue. It took about 24 hours to dry and the end result adds a touch of stylish country chic to any chair.
There are a ton of crafts you can do with raggedy roses. From wreathes to rugs to ribboned curtain accents to lampshade decorations and even belt accents, all you need is some fun fabric, a little bit of time and an abundance of creativity!
Kristin Hackler is a mother, children’s book author, and writer for eBay, where you can purchase vintage fabric (lots of it!) for your next DIY project.


Great idea!